Everything in Wyckoff rests on three laws. They are not indicators but principles for judging price and volume together, and the modules that follow examine each one in depth.
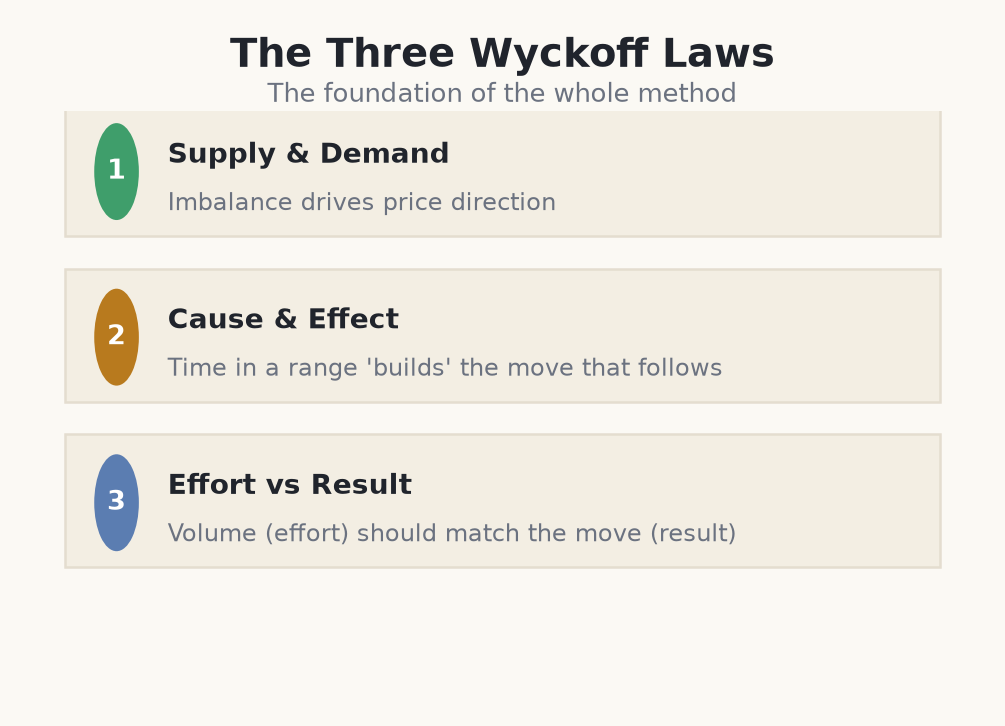
The three laws at a glance
- Supply & Demand — which side is in control decides direction.
- Cause & Effect — the size of a range builds the fuel for the move that follows.
- Effort vs Result — volume is effort; the resulting price move shows whether that effort worked.
Used together they answer different questions. Supply and demand tells you which way price is likely to break; cause and effect gives a sense of how far it might travel; and effort versus result tells you whether the move you are seeing is backed by conviction or likely to fail.
How to apply all three at once
The power of the laws is in stacking them. A single law rarely decides a trade, but when all three agree the case is much stronger. Read the chart in order: first supply and demand for direction, then cause and effect for room to run, then effort versus result for confirmation the move is genuine. If two laws point up and one points sideways, you have a partial case — a watch-list item, not a trade. Only when the evidence lines up cleanly do you commit, and even then you commit with a stop.
How to spot each law on the chart
- <strong>Supply/demand</strong> — read range edges: which side absorbs the other's pushes and refuses to give ground.
- <strong>Cause/effect</strong> — read range width and duration: a big, long base stores more fuel than a quick, narrow one.
- <strong>Effort/result</strong> — read volume against candle spread: heavy volume with tiny progress means the opposing side is absorbing.
Stacking the three laws into one decision
- 1A stock has built a wide 8-week base between €40 and €44 after a decline — that width is stored cause, hinting a break could run several euros.
- 2At the range lows near €40 you watch heavy selling repeatedly fail to make new lows — supply and demand says buyers have the edge.
- 3A rally then breaks €44 on a wide bar with volume triple the average — effort matches result, confirming genuine demand rather than a thin push.
- 4All three laws align up, so you buy the pullback to €44.20 with a stop at €42.90 (risk €1.30 per share).
- 5Account €1,000, risk 1% = €10. With €1.30 risk per share you buy 7 shares (≈€309). The cause projects toward ~€48, roughly 2.9:1.
- 6If price closes back under €42.90, one of the laws was misread and you are out for a small, planned loss.
Three laws, three questions: which way, how far, and is it real? — supply/demand, cause/effect, effort/result.
Common beginner mistakes with the three laws
- Leaning on a single law. A big base (cause) means nothing if supply and demand still favours the downside. The laws are strongest stacked, weakest alone.
- Reading volume without context. 'High volume' is meaningless unless compared to recent average and to the candle's spread. Effort vs result needs both halves.
- Turning cause into a price guarantee. A projected target from range width is a rough estimate, not a promise. Price often falls short or overshoots.
- Ignoring conflicting evidence. When two laws agree and one disagrees, beginners take the trade anyway. A partial case is a reason to wait, not to force.
- Skipping the stop because 'all three agree'. Aligned laws improve odds; they do not remove the chance of being wrong. Size and stop still decide survival.
None of the laws is a crystal ball. They are ways to weigh evidence, and even when all three point the same way a move can still fail — which is exactly why position sizing and stops remain non-negotiable.