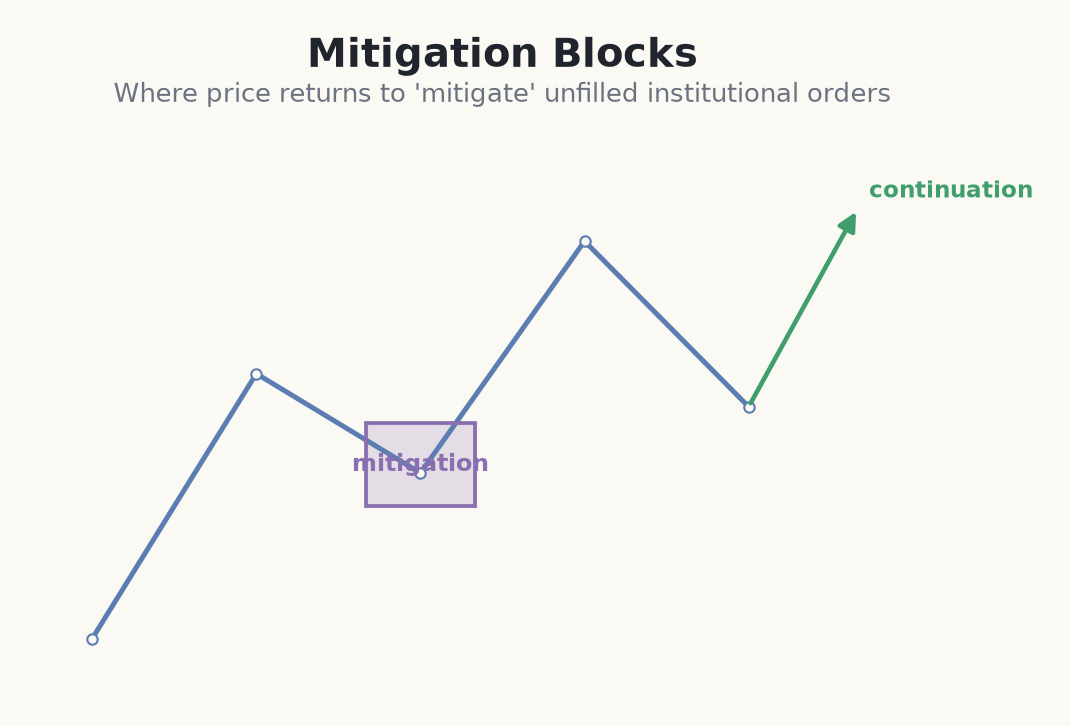
A mitigation block is a zone price returns to in order to mitigate unfilled orders. In SMC, to mitigate means to let earlier positions be managed or completed — for example, when institutions revisit an area to fill orders that a fast move left behind. Practically, it is another return-to-zone entry, closely related to the order block and breaker.
Mitigation versus breaker
The two are close cousins. A breaker block requires a liquidity sweep at its origin, while a mitigation block forms from a swing point that was not swept before the move. Both flip role after a structure break, but the distinction lies in whether liquidity was taken first. Many traders treat them almost interchangeably, and in practice the entry and stop logic is the same.
How to spot and use it
Mark the last swing that produced an impulsive, structure-breaking move without a prior sweep. When price returns to mitigate the zone, watch for the trend to resume with a lower-timeframe rejection. Because these are fine distinctions, confirm with structure rather than acting on the label alone — the name matters less than the fact that price is returning to a fresh, impulse-origin zone.
- A mitigation block forms from a swing <strong>not swept</strong> before its impulsive move.
- A breaker forms where liquidity <strong>was swept</strong> first — that is the only real difference.
- Both are <strong>return-to-zone</strong> entries with the same practical logic.
- Confirm with a structure shift and a reaction; don't trade the label blind.
Trading a bullish mitigation block
- 1EUR/USD 1-hour rallies impulsively and breaks structure up from a swing low at 1.0830 that was not swept beforehand — a clean mitigation origin.
- 2You mark the zone 1.0830–1.0842 and wait for price to return to mitigate it.
- 3Price pulls back into the zone at 1.0838 with a bullish rejection candle on the 5-min. You enter long at 1.0838.
- 4Stop goes below the zone at 1.0824 — a close there invalidates it. Risk = 14 pips.
- 5Account €2,000, risk 1% = €20, so ~0.14 lots. Target buy-side liquidity at 1.0895, ~57 pips, about 4:1.
Common mistakes with mitigation blocks
- Obsessing over the mitigation-versus-breaker label. The distinction is subtle and rarely changes the trade. Focus on a valid impulse origin and confirmation.
- Using a zone with no structure break. Without an impulsive, structure-breaking move away, there is no reason for price to return and continue.
- Trading a stale, already-mitigated zone. The first return is the cleanest. Once price has tapped and continued, the leftover orders are largely gone.
- Skipping confirmation. A tap of the zone is not an entry on its own. Wait for a reaction candle and keep risk fixed beyond the zone.
A mitigation block is a return to fill unmitigated orders — like a breaker but formed without a liquidity sweep first; trade the fresh retest with confirmation and a stop beyond the zone.