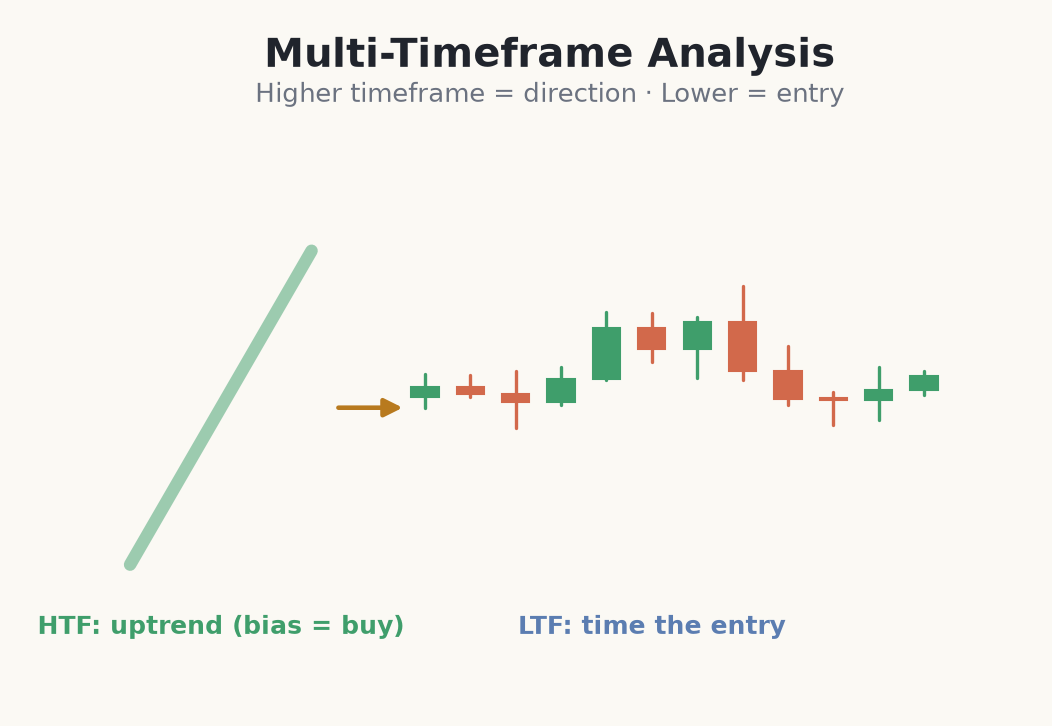
Multi-timeframe analysis means reading the same market on more than one timeframe at once. A single chart only ever tells you part of the story: a five-minute chart ripping higher can be a tiny bounce inside a daily downtrend. The principle that fixes this is simple and non-negotiable — use the higher timeframe for direction and the lower timeframe for entry. One decides which way you're allowed to trade; the other decides exactly when to pull the trigger.
Think of it like zooming a map. The higher timeframe is the country view: it tells you the trend everyone is reacting to and where the big levels sit. The lower timeframe is the street view: it shows the precise turn where you can enter with a tight stop. Traders who skip the country view get lost in noise; traders who never zoom in enter sloppily and pay for it with a wide stop.
A practical three-timeframe framework
You don't need dozens of charts. A clean routine uses three related timeframes, each with one job. A common set is daily / 1-hour / 5-minute, or 4-hour / 15-minute / 3-minute — the exact numbers matter less than keeping them roughly a 4x–6x step apart and using them the same way every time.
- <strong>Higher timeframe (bias):</strong> establish the trend, mark the key levels and supply/demand zones. This is where you decide 'buys only' or 'sells only'.
- <strong>Trading timeframe (setup):</strong> locate the actual setup within that bias — a pullback, a retest, a range edge lining up with the higher-timeframe zone.
- <strong>Lower timeframe (entry):</strong> fine-tune the entry and tighten the stop, using a candle close or rejection to trigger with precision.
Aligning three timeframes on one trade
- 1Higher timeframe (daily): EUR/USD is in a clear uptrend — higher highs and higher lows. Bias is buys only. You mark a demand zone at 1.0800–1.0820 where the last rally started.
- 2Trading timeframe (1-hour): Price pulls back into that 1.0800–1.0820 zone. Now the setup is defined — a pullback into higher-timeframe demand, in line with the daily bias.
- 3Lower timeframe (5-minute): Inside the zone you wait. A bullish engulfing candle closes back up through 1.0815 — that is your trigger.
- 4Entry & stop: You enter at 1.0818 with a stop just below the zone at 1.0795 — a tight 23-pip risk you could only get by zooming in.
- 5Target: The prior daily swing high at 1.0910, over 90 pips away — roughly 4R. The higher timeframe justified the trade; the lower timeframe made the risk small.
Timeframe conflict: the trap to avoid
The most common multi-timeframe mistake is a timeframe conflict — going long on a five-minute breakout while the daily chart is in a clear downtrend. The lower timeframe looks bullish, so you buy; then the dominant higher-timeframe trend reasserts itself and stops you out. Aligning your timeframes so they point the same way filters out a large share of low-quality trades and keeps you on the right side of the bigger move.
When timeframes disagree, the honest answer is usually no trade. You are not obliged to force a setup out of a chart that is arguing with itself. The best multi-timeframe trades are the ones where all three views quietly agree — bias, setup and trigger all pointing the same direction.
Common mistakes with multiple timeframes
- Letting the low timeframe set direction. Entering because the 5-minute looks strong while the daily trends the other way is backwards — the big timeframe always wins the argument.
- Using too many timeframes. Stacking six charts leads to analysis paralysis and contradictory signals. Two or three is plenty; more just gives you an excuse to never pull the trigger.
- Changing your timeframes trade to trade. Switching sets depending on mood destroys consistency. Fix your set and use it the same way every time.
- Zooming in to justify a bad idea. Dropping to a lower timeframe until you find a candle that supports the trade you already wanted is not analysis — it's confirmation bias.
- Ignoring the higher-timeframe level. A great lower-timeframe trigger in the middle of nowhere is still a bad trade. The trigger only counts when it lands at a higher-timeframe level or zone.
Let the higher timeframe decide direction and mark the level; let the lower timeframe decide timing and tighten the stop — never the other way around. When the timeframes disagree, stand aside.