What it is: A single Fibonacci level on its own is weak evidence. It becomes powerful when it overlaps with other factors — a support zone, a moving average, a trendline or a second Fibonacci reading. Where several tools point to the same price, we call it a confluence zone, and reactions there tend to be sharper.
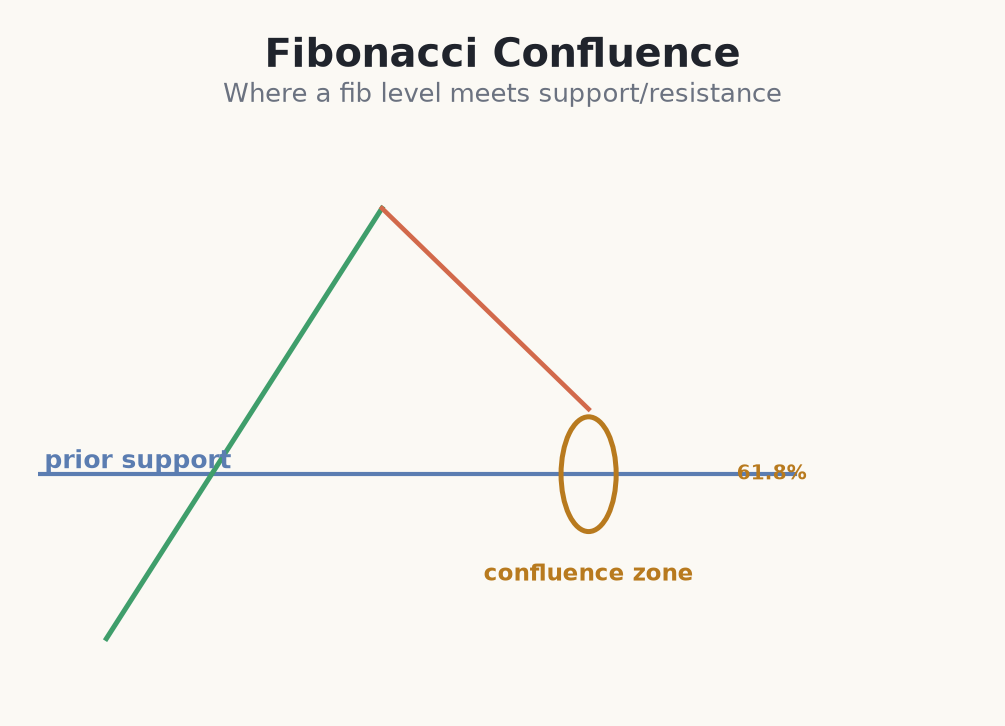
Building confluence
One classic technique is Fibonacci clustering: draw retracements from two or three different swings and look for where their levels stack close together. When a 61.8% from one swing meets a 38.2% from another around the same price, that overlap marks a higher-probability decision area.
- Fibonacci level + horizontal support or resistance.
- Two or more Fibonacci levels clustering from different swings.
- A Fibonacci level meeting a trendline or moving average.
- A retracement landing inside a supply or demand zone.
Why stacked evidence beats one level
Why it works: each tool has independent watchers. A horizontal support has traders defending it; a 61.8% has Fibonacci traders buying it; a rising 50-EMA has trend traders adding there. When all three land at the same price, you are not adding one edge — you are stacking three separate order flows at one spot, so the reaction is more likely and often faster. But confluence improves odds, not certainty: three reasons to be long can still be wrong together, especially when the broader trend turns.
How to trade a confluence zone
How to use it: mark your independent levels first — support/resistance, trendlines, moving averages — then overlay the Fibonacci. Only treat a zone as prime when at least two independent factors agree within a few pips. Then still wait for a reaction candle; confluence tells you where to look, confirmation tells you when to act.
Trading a triple-confluence zone on GBP/USD (€1,000)
- 1GBP/USD trends up; you draw a retracement from swing low 1.2600 to high 1.2760 (160-pip leg). The 61.8% = 1.2661.
- 2A prior horizontal support sits at 1.2660, and the rising 50-EMA is passing through 1.2658. Three factors land inside a 3-pip band — a genuine confluence zone.
- 3Price dips into 1.2658–1.2661 and prints a pin bar with a long lower wick. You enter long at 1.2665.
- 4Stop below the zone and swing at 1.2635 = 30 pips. Risk 1% of €1,000 = €10, size ≈ 0.033 lots (~€0.33/pip).
- 5Target the prior high at 1.2760 (~95 pips) for about 3:1. The tight stop is possible precisely because three factors defended one small zone — remove any one and the setup is ordinary.
Common confluence mistakes
- Calling one level 'confluence'. A lone 61.8% is not confluence — it is a single factor. You need at least two independent reasons landing at the same price.
- Manufacturing overlaps. Stretching a trendline or cherry-picking a swing until it touches your Fibonacci is fooling yourself. The factors must be genuine and pre-existing.
- Confusing improved odds with certainty. Even a beautiful triple-confluence zone fails regularly. It raises probability, it does not remove the need for a stop.
- Skipping confirmation because the zone looks perfect. Confluence shows where to look; a reaction candle shows when to act. Blind limits still get run over.
- Widening the stop to 'give the zone room'. If price trades cleanly through all your factors, the idea is wrong. Do not turn a 30-pip risk into 80 to avoid being stopped.
One Fibonacci level is a guess; a level stacked with support, a trendline or a second reading is a confluence zone worth trading.
The more evidence that agrees at one price, the more seriously you treat it — but confluence improves odds, not certainty. Even a beautiful confluence zone can fail, so you still enter with a defined stop and only risk what you can afford to lose on the idea.