Individual concepts only become an edge when they combine into a repeatable process. A complete SMC setup stacks the pieces from this course — bias, liquidity, structure shift, entry zone and risk — into a single checklist you can run the same way on every chart.
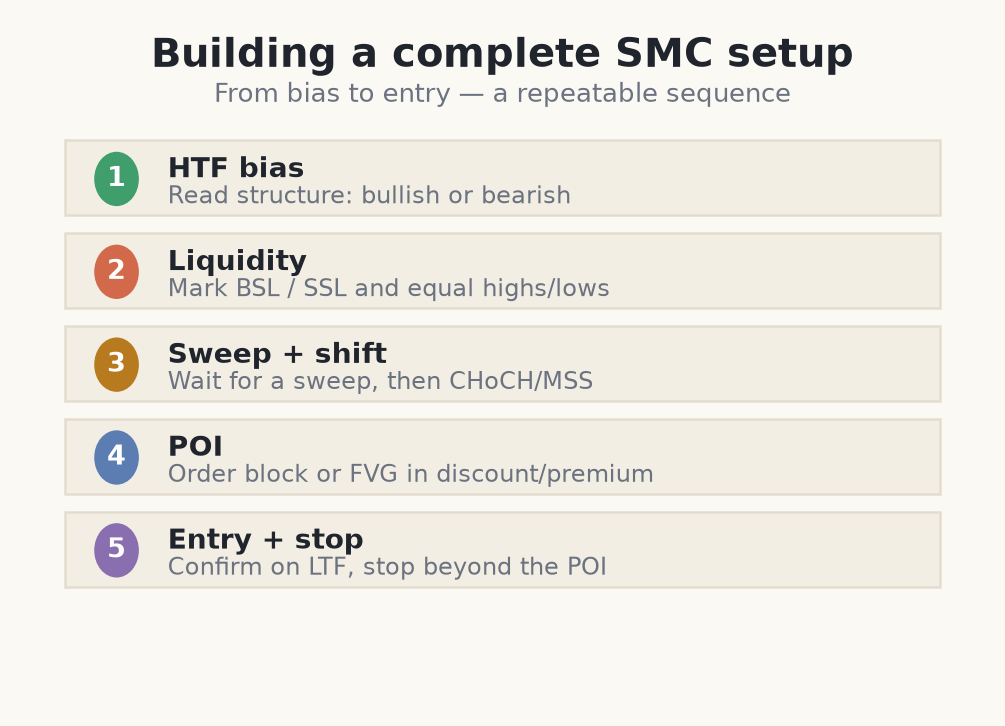
The five-step checklist
- Bias: read higher-timeframe structure (BOS/CHoCH) and order flow to pick a direction.
- Liquidity: mark the buy-side and sell-side pools price is likely reaching for.
- Sweep and shift: wait for a liquidity sweep followed by a CHoCH or MSS with displacement.
- Entry zone: refine to an order block, FVG or OTE in the discount/premium that favours your bias.
- Risk: set the stop beyond the invalidation, target the next liquidity, and size the position from the stop.
Notice how the steps reinforce each other: you only take an entry when structure, liquidity and the zone agree. When they conflict — for example an order block in a premium zone against your bias — the honest answer is usually no trade.
Risk management is the real edge
A widely used guideline is to risk a small fixed percentage per trade so no single loss hurts. Position size is calculated from the stop distance, never the other way around. Keep a trading journal with screenshots and outcomes, and review whether you actually followed your rules.
Running the five-step checklist on one trade
- 1Bias: On the 1-hour EUR/USD, higher-timeframe structure shows a bullish BOS and order flow is up — you only look for longs.
- 2Liquidity: You mark sell-side liquidity below an obvious swing low at 1.0840 — the pool price is likely reaching for before continuing up.
- 3Sweep and shift: Price sweeps below to 1.0832, then reverses with displacement and a CHoCH — the trap is set and structure has shifted.
- 4Entry zone: On the retrace, price taps a demand order block at 1.0850 in the discount half. You enter long at 1.0852.
- 5Risk: Stop below the sweep at 1.0827 → risk = 25 pips. Account €1,000, risk 1% = €10 → size ≈ €10 ÷ 25 ≈ 0.04 lots.
- 6Target the buy-side liquidity above at 1.0930, ~78 pips away — about 3.1:1. Every step agreed before you clicked; if one had conflicted, the answer would be no trade.
Common mistakes building an SMC setup
- Taking the trade when steps conflict. An order block in a premium zone against your bias is not a setup. When structure, liquidity and the zone disagree, the honest answer is no trade.
- Sizing before defining the stop. Position size must come from the stop distance and your 1% risk — never pick a lot size first and place the stop to fit it.
- Skipping the sweep-and-shift step. Entering at a raw order block with no liquidity sweep or CHoCH is guessing. Wait for confirmation that order flow actually turned.
- Overtrading when no clean setup exists. A checklist that rarely fires is doing its job. Forcing trades to stay busy is how accounts bleed out.
- Believing the model wins every time. These are interpretations, not certainties. Backtest, journal every trade, and protect capital — the process is the edge, not prediction.
Finally, stay honest. These are models and interpretations, not certainties; no setup wins every time; and every idea here should be backtested before you risk real money. Consistency comes from disciplined process and protecting capital — not from prediction or promises.
A complete SMC setup only fires when structure, liquidity and the entry zone agree — and strict risk management is the real edge.